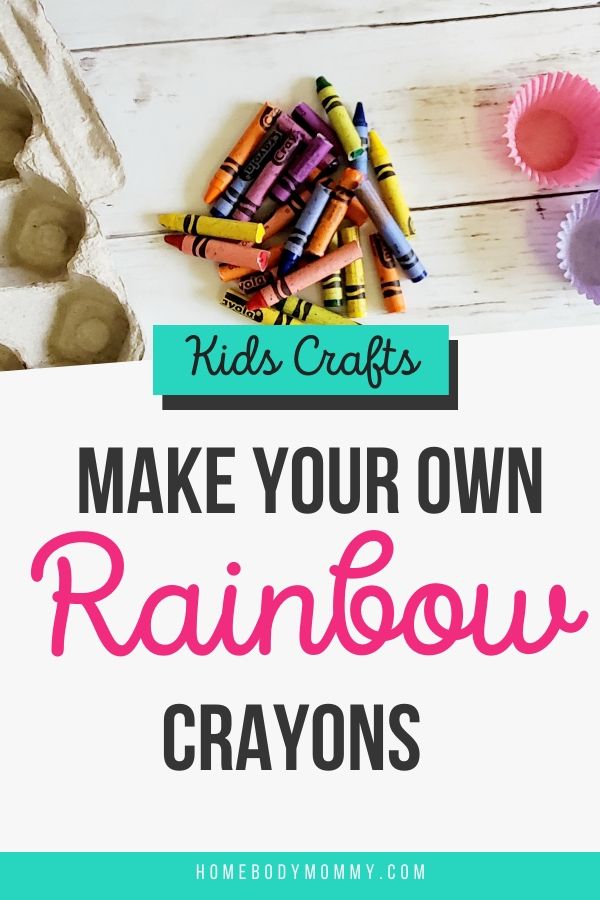
DIY Rainbow Crayons
DIY Rainbow Crayons are a fun project for you to do with your kids. Instead so throwing away broken crayon pieces give them a new life. You can reuse broken crayons by melting and reshaping them.
Thanks to Pinterest I can no longer throw things away. I have piles of toilet paper tubes, strings, and scraps of clothes piled in my closet. I hold on to these items in case I happen to come across a craft that may need one of these random objects.
Another random item I have stocked piled is broken crayons. Though my inner Marie Kondo is telling me to get rid of these piles I can’t do it. I have always felt guilty for throwing things away.
My kids break crayons more than they actually use them. So what do you with all the broken crayons?
Give them a new life by making new crayons out of the broken pieces.
Give Broken Crayons a New Life
You can take the broken pieces of crayons you have laying around and give them new life by melting them into new shapes. After the melted crayons have cooled you have a new crayon to use!
Gather the Broken Crayons
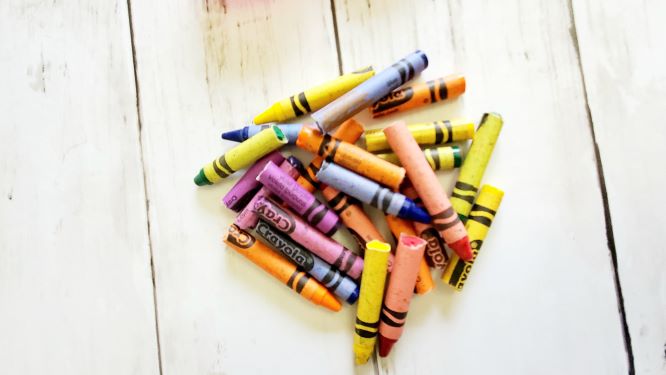
The first thing you will have to do is gather all your broken crayons. I keep all the broken crayons in a ziplock bag. Then when we have enough to repurpose we make this project.
Peel off labels


Peeling the labels off of the crayons are not always easy. It can also take a while to do. But there are a few tricks to try.
One way is to use an exacto knife. Slice down the middle of the crayon. And the label will peel right off. Make sure to be careful not to slice your finger! I’m always hurting myself with sharp objects. So I make sure to slice the label in half very slowly!
Another trick to try is to soak the crayon pieces in warm water. Make sure the water isn’t too hot. I made the mistake of using hot water and the crayons started to melt. The warm water will help to make the peel come off easier.
Peeling the labels for the crayons is a good activity for your kids to do. It could keep them busy while you prepare the other materials.
When my daughter was younger she was obsessed with unboxing videos on YouTube. She would like to peel the labels of her crayons and pretend like she was opening blind bags:)
Get Ready to Melt Crayons

Cut the eggshell cartons into individual pieces. You don’t have to use eggshell cartons. But you will most likely have eggshell cartons.
Paper cups are an easier option to use. But not everyone keeps them around. If you do have them use the cups instead of eggshell cartons. You’ll be able to melt more crayons at once.
Once the eggshell cups are ready to go, sort the colors you want to melt. Place eggshell cups on the baking sheet. I place parchment paper under the eggshell cups in case they leak. You don’t want to ruin your cookie sheets!
Place the baking sheet with the eggshell cups and broken crayons in the oven. The oven should be preheated to 300 F. Check the crayons after 10 minutes.
Make New Crayons
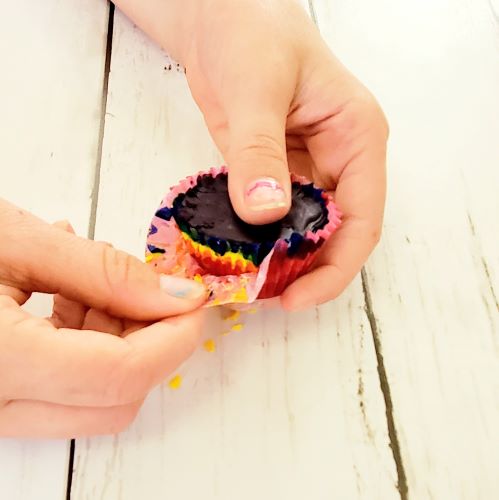
After the crayon pieces have melted, take them out of the oven. Then pour the melted crayons into the cupcake liners.
For this project I used mini cupcake liners. Since that is all I had. They worked out perfectly. Also, I think the mini liners are a better size. Than regular cupcake liners.
Or you can use a silicone mold if you want a certain shape. Like a dinosaur or a unicorn.
Let the melted crayon cool before pouring the next color in. Otherwise, the colors will blend together. Repeat melting and pouring until you have the layer of colors you want your rainbow crayon to be.
Let the crayon fully cool for at least 20 minutes.
Once the crayons have cooled go grab some paper and start coloring!
I hope you enjoyed this DIY Rainbow Crayon activity! Have you repurposed broken crayons for another craft? Let me know in the comments:)
Related Posts:


Leave a Reply